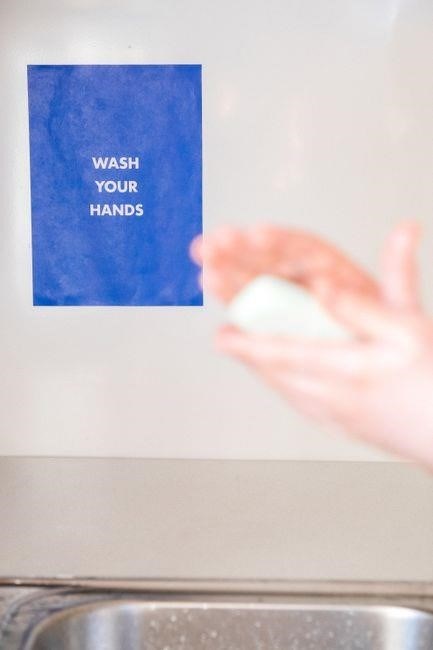
Overview of Vinyl Decal Application
Vinyl decal application begins with a clean, non‑porous surface. Use a low‑tack transfer tape to lift the decal from its waxed paper backing. Apply in 60‑75°F; below 45°F, adhesion weakens. Follow the video guide for precise placement and smooth finish. Keep area dry dust‑free for best bond well.
Typical Use Cases and Benefits
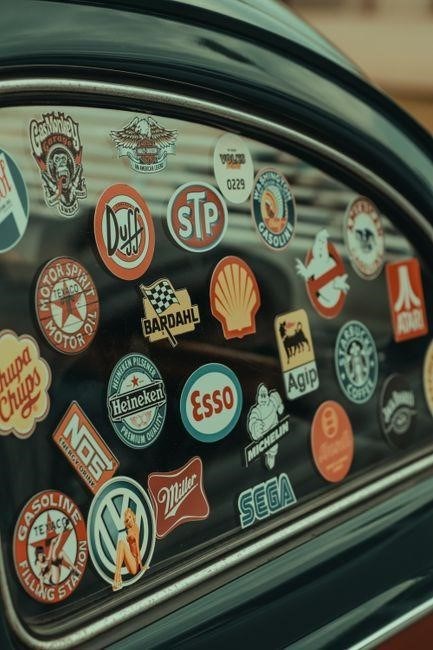
Vinyl decals are versatile decorative and functional solutions for a wide array of surfaces. They are commonly applied to vehicle windows, doors, and bumpers to display logos, slogans, or custom artwork. They are used on kitchen cabinets, wall panels, and furniture to add a personal touch or to protect surfaces from scratches. Businesses employ decals on storefronts, signage, and promotional displays to enhance brand visibility and attract customers. Outdoor enthusiasts mount decals on tents, backpacks, and gear for identification and style. In educational settings, decals serve as instructional labels on lab equipment and classroom walls. The primary benefits include durability—lasting 3–5 years under proper conditions—ease of application with transfer tape, and the ability to remove or replace without damaging the underlying surface. Additionally, vinyl decals are weather‑resistant, resist fading, and can be customized in a wide range of colors and finishes, making them an economical and flexible choice for both temporary and long‑term projects. They are also ideal for temporary events such as trade shows, festivals, and seasonal promotions, allowing quick updates without permanent alterations. The adhesive ensures the decal stays firmly attached even when exposed to wind, rain, or direct sunlight, while the non‑porous backing protects the underlying paint or wood from scratches and staining. The ability to customize size, shape, and finish—from matte to gloss—offers designers creative flexibility, enabling precise brand alignment. Finally, the low cost of production and minimal labor required make vinyl decals a cost‑effective solution for businesses seeking a fresh visual presence. They also leave no residue. Easy removal.
Surface Requirements
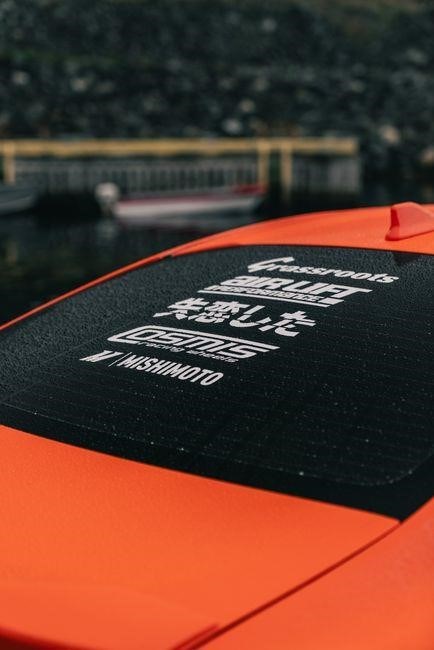
Decals must be applied to clean, non‑porous, surfaces such as glass, metal, or painted walls. Any dust, oil, or moisture will compromise adhesion. Use a lint‑free cloth and isopropyl alcohol to wipe the area. Avoid rough or textured materials; they reduce lifespan!!!
Non-Porous Materials and Smoothness
For vinyl decal, the substrate must be non‑porous and smooth. Common choices include glass, polished metal, clear acrylic, and surfaces with matte or satin finish. Porous surfaces such as raw wood or unsealed concrete absorb moisture and oil, preventing adhesion. Even a slight dust particle can cause bubbles or lift during curing. Prior to application, clean the surface with a lint‑free cloth and isopropyl alcohol or a dedicated vinyl cleaner to remove oils and contaminants. Allow the area to dry completely; residual moisture creates a barrier. Apply the decal at 60°F–75°F; lower temperatures reduce tackiness, leading to peeling after months. Keep the backing paper flat to avoid creases transferring to the image. Avoid surfaces that will experience abrasion or chemicals. Ensuring a non‑porous, smooth substrate preserves color fidelity and image sharpness for years.
The smoothness of the substrate is critical; a surface with micro‑imperfections can trap air, leading to bubbles that compromise the decal’s appearance. For surfaces that are textured, a light sanding with fine grit can level the area before cleaning. When using a primer, choose one formulated for vinyl to enhance adhesion on glossy finishes. After application, use a heat gun or hair dryer on low heat to relax the decal, allowing it to conform to curves smooth. Avoid touching the adhesive side with bare fingers; use cotton gloves or a clean cloth. If bubbles appear, lift the decal gently, reposition, and re‑squeegee. Let the decal cure for at least 24 hours in a dust‑free environment before exposing it to traffic.
Temperature Guidelines
Optimal adhesion occurs between 60°F and 75°F. Below 45°F, tack is weak, risking lift. Warm, dry conditions help the vinyl bond; avoid sudden temperature shifts. Use a heat gun after placement to smooth curves, but keep below 200°F to prevent warping.
Enjoy.OK Stay.
Optimal Temperature Range for Adhesion

For vinyl decals to adhere reliably, the ambient temperature should be maintained between 60°F and 75°F. Within this band the adhesive’s tack remains fluid enough to bond while the vinyl’s plastic matrix stays flexible, preventing premature cracking or delamination. If the temperature drops below 45°F, the adhesive’s viscosity increases sharply, causing the decal to lift or fail to set during the initial press. Conversely, temperatures above 80°F can cause the vinyl to soften excessively, leading to distortion or loss of sharp edges. Therefore, when planning a decal installation, check local weather forecasts and, if necessary, use a portable heater or wait for a warm day. After the decal is positioned, a gentle heat gun held at a safe distance can be employed to smooth out any trapped air pockets or minor wrinkles, but the heat should never exceed 200°F to avoid melting the vinyl. Consistent, moderate temperatures not only guarantee a strong bond but also extend the decal’s lifespan, keeping colors vivid and edges crisp for years. In practice, many installers recommend using a heat gun set to 200°F for a few seconds over each edge to ensure a smooth seal. Additionally, avoid applying decals in direct sunlight or on surfaces that will be exposed to high humidity, as moisture can compromise adhesion. By following these temperature guidelines, you can achieve a durable, professional-looking finish that withstands the elements. Test a small area to confirm the adhesive behaves as expected before applicationnow
Cleaning Process
Use a lint‑free cloth and a mild, alcohol‑based cleaner. Wipe the surface in a circular motion, removing dust, oils, and residues. Let it dry completely before decal placement. Avoid harsh chemicals that could damage the substrate or adhesive. Keep area dry, debris-free.!!
Recommended Cleaning Agents and Techniques
Before applying a vinyl decal, the surface must be clean. Use a lint‑free microfiber cloth and a mild, alcohol‑based cleaner—such as 70% isopropyl alcohol. Spray a small amount onto the cloth, not directly onto the surface, to avoid excess moisture. Wipe the area in a circular motion, removing dust, oils, fingerprints, and residue that could compromise adhesion. This ensures a firm bond and prevents peeling.
After wiping, allow the surface to air‑dry for at least one minute. Blot excess liquid. Avoid harsh chemicals like ammonia or acetone, which can etch or soften the substrate and reduce the decal’s lifespan. Inspect the area under good lighting; any streaks should be removed. Ensure the surface stays dust‑free before cleaning.
For surfaces prone to contamination—such as painted metal, glass, or plastic—consider a two‑step cleaning process: use a detergent to remove wax or grease, then rinse with distilled water and dry with a clean microfiber. This helps prevent a film that could interfere with the decal’s adhesive. If glossy, light sanding can improve adhesion. Test a small area to ensure the cleaner does not alter the surface.
In high‑humidity environments, keep the surface warm with a low‑temperature heat lamp to maintain optimal adhesion (60‑75°F). Use a low‑temperature heat lamp to keep the surface warm.
Materials Needed
Transfer tape, waxed paper, lint‑free cloth, 70% isopropyl alcohol, optional low‑temperature heat lamp, and a clean workspace. Keep items within reach for smooth application. Also use rubber gloves, a squeegee, a ruler, and a heat source Keep the area dry and dust‑free
Transfer Tape and Wax Paper Specifications
Transfer tape is a low‑tack, clear adhesive film that temporarily holds the decal during positioning. It should be 0.02–0.04 in. thick, with a smooth, dust‑free surface. The backing is usually a thin, flexible plastic that allows the tape to bend without tearing. Wax paper, also called release paper, is a thin, wax‑coated sheet that sits between the decal and the transfer tape. It is typically 0.01–0.02 in. thick, white or blue, and has a low‑friction surface to prevent the decal from sticking to the tape. The wax coating ensures that the decal can be lifted cleanly when the tape is removed. Both materials should be stored in a cool, dry place to maintain their adhesive properties. When ready to apply, cut the transfer tape to the decal’s shape, peel the wax paper, and align the decal. The tape’s low tack allows you to reposition the decal without damaging the backing. After the decal is placed, the wax paper is peeled away, leaving the decal adhered to the surface. Proper handling of these materials is crucial for a smooth, bubble‑free finish and long‑lasting adhesion.
For best results, use transfer tape rated for automotive decals, balancing grip and release. Wax paper should be lint‑free and free of scratches; any flaw can trap air. Store both in a sealed bag to avoid dust. Cut the tape with a sharp knife for clean edges. Inspect for tears before use. Properly maintained tape and paper ensure a smooth, long‑lasting finish. Follow these steps for a flawless decal application.!!!
Application Technique
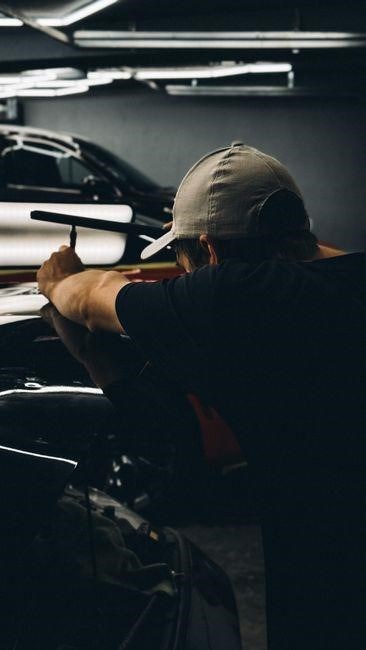
Place the decal on the clean surface, aligning carefully. Lift the transfer tape, press the decal down, and smooth from center outward with a squeegee or credit card. Trim edges if needed. Use a soft cloth to wipe excess moisture. Avoid touching decal until set now.
Transferring the Decal onto the Surface
Begin by positioning the decal on the prepared surface, ensuring the image is centered and oriented correctly. Gently lift the protective wax paper, exposing the adhesive layer. Use a clean, dry squeegee or a flat credit card to press the decal firmly onto the surface, starting from the center and moving outward to eliminate air bubbles. If bubbles appear, lift the decal slightly, re‑apply and smooth again. For large decals, use a roller or a specialized decal applicator to maintain even pressure across the entire area. Keep the transfer tape in place until the adhesive has fully bonded; do not remove it prematurely, as this can cause misalignment. After the decal is firmly attached, slowly peel the transfer tape away at a 45‑degree angle, ensuring the adhesive remains on the surface and the backing tape is cleanly removed. If any adhesive residue remains, apply a mild solvent or rubbing alcohol to the area and wipe gently with a microfiber cloth. Finally, inspect the decal for any lifted edges or trapped air, and use a soft brush to smooth the surface if necessary. This method ensures a durable, long‑lasting finish that resists peeling and fading over time. Adhering to these steps guarantees a pristine finish that will endure for years. Always allow the decal to settle for at least 24 hours before exposing it to harsh weather or cleaning agents. If any issues arise, consult the manufacturer’s guidelines or seek professional assistance to avoid damage. Enjoy a decal that enhances vehicle’s look only today.

Positioning and Alignment
Use a level or straight edge to center the decal. Use a level or straight edge to center the decal. Align the design before removing the transfer tape. Adjust only after the adhesive has set to avoid bubbles. Ensure symmetry for a professional look. Keep it flat.!!
Tools for Precise Placement
Start by wiping surface with microfiber cloth to remove dust and oils. Use spray bottle of 70% isopropyl alcohol to clean area and ensure surface. Flat ruler helps align decal along edge. Plastic card with edge can be used to press decal from back, ensuring contact. For adjustments, hair dryer set to low heat can gently warm vinyl, allowing it to flex without cracking. Use a plastic card for precise back pressure. Keep dry and free of debris.

Finalization
After aligning, press the decal with a plastic card to eliminate bubbles. Gently peel off wax paper, then transfer tape, revealing the decal. Smooth remaining edges with a soft cloth. Allow to cure for 24 hours before exposure to weather. inspect for lift and reapply pressure if needed. carefully.
Removing Wax Paper and Smoothing the Decal
Once the decal is firmly in place, carefully lift the protective wax paper. Hold the paper at a 45‑degree angle and pull it away slowly to avoid lifting the decal. If bubbles appear, use a soft, lint‑free cloth to press them toward the edge. After the wax is removed, apply a gentle, even pressure across the decal with a clean, flat tool—such as a plastic squeegee or a credit card—to ensure full contact with the surface. Work from the center outward, smoothing in a circular motion to push out any trapped air. If a bubble remains, pinch it with tweezers and press the surrounding area. Allow the decal to set for a minimum of 24 hours before exposing it to moisture or high temperatures. This curing period helps the adhesive bond fully, extending the decal’s lifespan. For optimal results, avoid touching the decal’s surface during the first 48 hours. Use a microfiber cloth to wipe away any fingerprints or dust, and reapply pressure if necessary. The final step is a quick inspection: the decal should appear flat, with no visible seams or bubbles, and the image should be crisp and fully adhered.
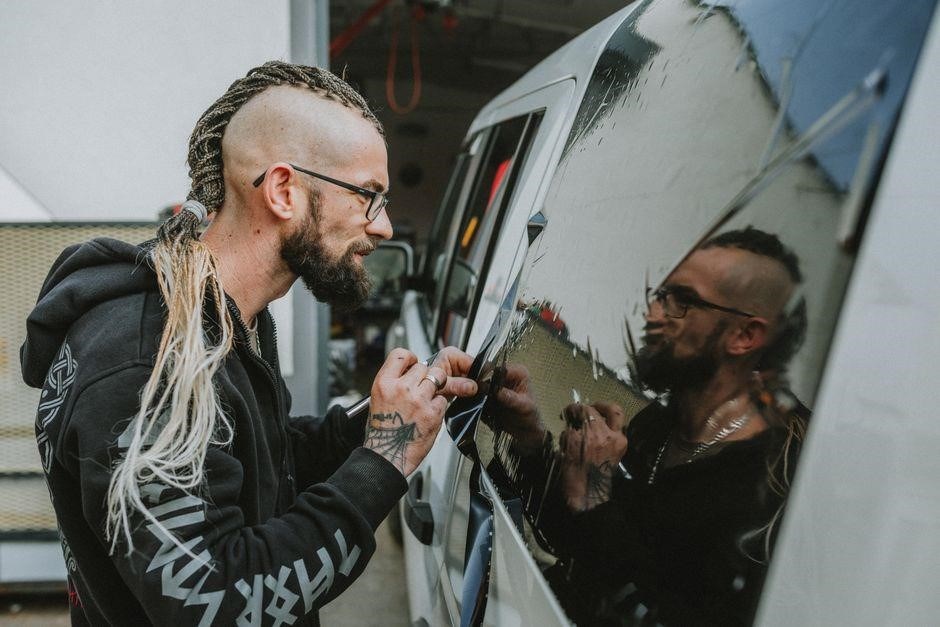
For large decals, consider using a heat gun set to low heat to slightly warm the surface, which can help the vinyl conform to subtle curves. Move the heat source in a slow, steady motion to avoid scorching. After heating, repeat the smoothing step. If the decal is on a curved surface, use a flexible squeegee to maintain contact along the contour. Always keep the tool clean to prevent scratches. If the decal is on a vehicle window, ensure the window is completely dry before application; moisture can cause the adhesive to fail. After smoothing, inspect from multiple angles to confirm uniform adhesion. Any remaining imperfections can be corrected with a fine‑tipped tweezers and a small amount of rubbing alcohol on a cotton swab to clean the area before re‑applying pressure. Once satisfied, the decal is ready for use.
Remember to store any unused decals in a cool, dry place, wrapped in their original packaging to prevent curling or damage.