
Understanding Automatic Gate Systems
Automatic gate systems offer convenience and security, but understanding manual operation is vital for emergencies or power outages.
Knowledge empowers safe access and troubleshooting, ensuring continued functionality when automation fails.
Types of Automatic Gate Operators

Swing gate operators utilize a mechanical arm to push or pull the gate leaf, requiring manual override access typically via a keyed release. Sliding gate operators employ a chain or belt drive, and their manual release often involves disengaging the motor from the carriage. Barrier gate operators, common for parking facilities, usually have a manual lift mechanism accessible after unlocking a cabinet.
Understanding your specific operator type is crucial for locating and utilizing the manual release. Different manufacturers employ varying designs, so consulting the gate’s documentation is highly recommended. Knowing the system allows for safe and efficient manual operation during power failures or mechanical issues, preventing unwanted access or egress restrictions.
Common Components of an Automatic Gate
Gate operators are the core, driving the movement, while control boards manage functionality. Safety sensors prevent collisions, and a power supply provides energy. Crucially, all systems include a manual release mechanism. This allows disengagement of the motor, enabling manual operation.
Locating this release is paramount. It’s often a keyed cylinder or a T-handle near the operator. Understanding these components helps pinpoint the release location. Familiarity with the system’s build allows for quicker access during emergencies. Knowing where everything is located ensures a smooth transition to manual control when automated functions fail.
Safety First: Before You Begin
Prioritize safety! Always visually inspect the gate area for obstructions before attempting manual operation. Clear pathways and ensure no one is nearby during disengagement.
Identifying Potential Hazards
Before initiating any manual operation, a thorough hazard assessment is paramount. Automatic gates, while convenient, possess inherent risks when bypassed. Observe for pinch points – areas where body parts could become trapped during movement, especially with swing gates.
Inspect the track for sliding gates; obstructions can cause sudden, forceful movements. Be mindful of the gate’s weight and balance; an unsupported gate can fall, causing serious injury.
Check for electrical components – even with power disconnected, residual energy might exist. Look for damaged wiring or exposed parts. Finally, ensure the area is clear of people and pets to prevent accidental contact during manual operation. Awareness minimizes risk.
Disconnecting Power Supply – Crucial Step
Prior to any manual intervention, completely disconnecting the gate operator’s power source is non-negotiable. Locate the dedicated circuit breaker supplying the gate – typically within the main electrical panel. Switch the breaker to the “OFF” position, verifying complete power loss at the operator;
For gates with a local disconnect switch (often near the operator), utilize that instead.
Confirm power is off using a non-contact voltage tester. This prevents accidental activation during manual operation, safeguarding against serious injury. Ignoring this step introduces significant risk. Always double-check; safety is paramount. A locked-out/tagged-out procedure is best practice for prolonged work.
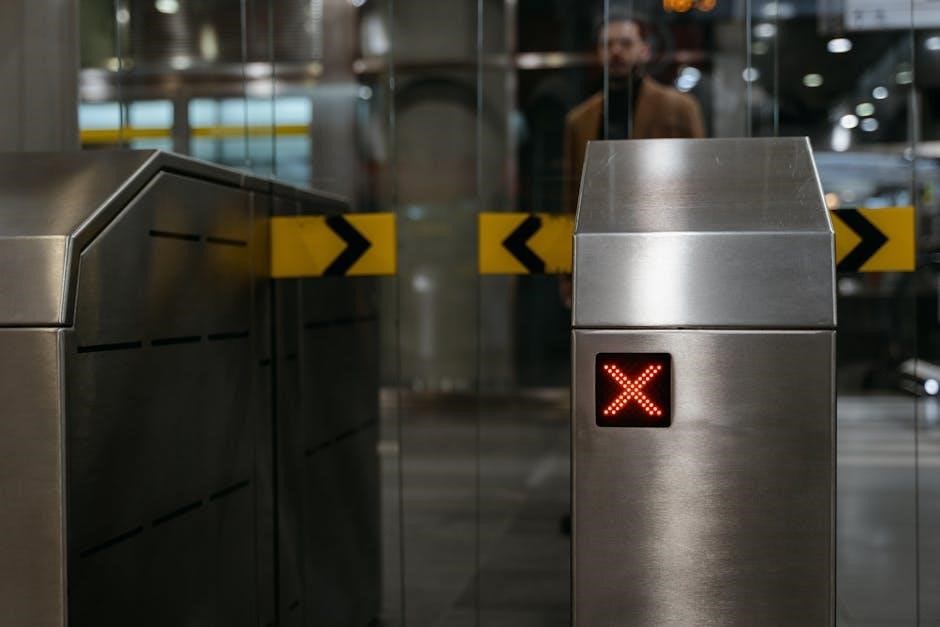
Locating the Manual Release Mechanism
The manual release is a key feature, allowing bypass of the operator. It’s usually a keyed slot or handle near the motor housing, enabling gate movement.
Where to Find the Release Key Slot/Handle
Locating the manual release often involves checking near the gate’s motor housing, a weatherproof box typically mounted on a post. Look for a small, rectangular or square slot designed for a specific key – often a unique, specialized key provided with the gate system. Alternatively, some systems utilize a T-handle or a lever.
The position varies by operator type and manufacturer; it could be on the side, top, or even the front of the housing. Inspect carefully, as it’s often recessed or camouflaged for security and weather protection. Referencing the gate’s original installation manual is highly recommended, as it will pinpoint the exact location for your specific model. If the manual is unavailable, a visual inspection around the motor housing is the next best step.
Different Release Mechanism Designs (Slide, Swing, etc.)
Release mechanisms vary significantly based on gate type. Swing gates commonly employ a lever or key-operated release that disengages the motor’s drive, allowing manual pivoting. Sliding gates often feature a chain or sprocket system; releasing the motor allows the gate to be pushed or pulled along its track.
Some sophisticated systems utilize a multi-step release, requiring a key to unlock, then a separate action to fully disengage the operator. Always observe the mechanism carefully before applying force. Never force the release, as this could damage the system. Understanding your gate’s specific design is crucial for safe and effective manual operation.
Using the Manual Release – Step-by-Step
Locate the release, insert the key or tool, and disengage the operator following the manufacturer’s instructions. Gently operate the gate manually thereafter.
Inserting the Key/Using the Release Tool
The initial step involves locating the designated key slot or release tool interface on the gate operator. This is typically a small, weatherproofed compartment near the motor housing. Carefully insert the provided key – often a specialized Allen wrench or similar tool – into the slot.
Ensure the key is fully seated to properly engage the release mechanism. For systems utilizing a release tool, follow the manufacturer’s instructions for correct insertion and rotation. Avoid forcing the key or tool, as this could damage the internal components. A smooth, deliberate action is crucial; Once engaged, you should feel or hear a distinct click, indicating the operator is partially disengaged, preparing for manual operation.
Disengaging the Operator – The Process
With the key or release tool properly engaged, gently rotate it in the designated direction – usually clockwise or counterclockwise. This action physically disconnects the motor from the gate’s arm or chain drive. You may notice a slight resistance initially, which is normal. Continue rotating until the operator is fully disengaged; a noticeable change in feel will confirm this.
Crucially, do not attempt to force the mechanism beyond its limit. A fully disengaged operator allows for free movement of the gate. The gate will no longer respond to remote controls or wall buttons during this phase. Remember, disengaging the operator solely enables manual operation; it doesn’t address any underlying mechanical issues.
Manually Opening and Closing the Gate
Once disengaged, gently push or pull the gate to open or close it. Ensure a clear path and smooth operation, avoiding any forceful movements or obstructions.
Operating a Swing Gate Manually
Swing gates, when manually operated, require a deliberate push or pull depending on the hinge side. After disengaging the operator, assess the gate’s weight and ensure a clear swing path, free from obstructions like vehicles or debris. Apply steady, even pressure to initiate movement; avoid jerky motions that could strain the hinges or latch mechanism.
Listen for any unusual sounds during operation, indicating potential issues. If resistance is encountered, do not force the gate – re-check for obstructions or consult a professional. Remember that manual operation bypasses safety sensors, so exercise extreme caution, particularly regarding pedestrian traffic. Close the gate fully and securely once access is granted or denied.
Operating a Sliding Gate Manually
Sliding gates, when manually operated, typically require lifting slightly to disengage the rollers from the track. Once free, apply consistent, horizontal force to initiate movement along the track. Ensure the track is clear of debris – leaves, stones, or ice – which can impede smooth operation. Pay attention to the gate’s weight distribution and maintain a firm grip for control.

Avoid sudden jerks or excessive force, as this could damage the rollers or track. Listen for any grinding or scraping sounds, signaling potential issues. As you approach the open or closed position, slow down to prevent overshooting. Remember manual operation disables safety features; prioritize caution and awareness of surroundings.

Troubleshooting Common Issues
Persistent issues with manual release or a jammed gate necessitate careful inspection; don’t force it. Seek professional assistance to avoid damage or injury.
Release Mechanism Not Working
If the manual release isn’t functioning, first, visually inspect the key slot or release handle for obstructions like dirt, ice, or debris. Ensure the key or release tool is fully inserted and turned correctly.
Sometimes, the internal linkage can become dislodged. Gently attempt to manipulate the release mechanism while simultaneously trying to open the gate.
Avoid excessive force, as this could cause further damage. If it still fails, the operator might be experiencing a more significant mechanical or electrical issue requiring professional attention.
Remember, forcing the release could compromise the gate’s safety features and potentially cause injury. Prioritize a careful assessment before escalating to more forceful methods.
Gate is Jammed or Stuck
A jammed gate, even with the operator disengaged, presents a challenge. Begin by visually inspecting the gate’s track (for sliding gates) or hinges (for swing gates) for obstructions like rocks, debris, or snow buildup.
Gently attempt to rock the gate back and forth; avoid applying excessive force. Check for any visible misalignment that might be causing binding; If the gate is frozen, carefully apply de-icing agents to the track or hinges.
If the issue persists, a professional inspection is recommended, as internal components or the gate’s structure itself may be damaged. Never force a stuck gate, as this could lead to further damage or injury.

Re-Engaging the Automatic Operator
Proper alignment is key before reconnecting. Ensure the gate moves freely, then carefully re-engage the operator following the manufacturer’s instructions for safe operation.
Ensuring the Gate is Properly Aligned
Before re-engaging the automatic operator, meticulous alignment checks are paramount for smooth and safe operation. Visually inspect the gate’s path, confirming it isn’t binding or scraping against any surfaces. A misaligned gate can strain the operator, leading to damage or malfunction.
Carefully observe the hinges and rollers (for sliding gates), ensuring they are securely fastened and moving freely. If adjustments are needed, consult the gate’s manual for specific instructions. Minor adjustments can often resolve alignment issues.
Confirm the gate closes completely and latches securely. Any resistance during manual operation indicates a potential alignment problem that must be addressed before restoring automated functionality. Prioritizing alignment prevents future issues and extends the lifespan of your gate system.
Reconnecting the Operator – Step-by-Step
With the gate properly aligned, carefully re-engage the automatic operator. Locate the connection point where the operator arm links to the gate – this varies by gate type. Gently maneuver the arm back into its original position, ensuring a secure fit.
Listen for a distinct click or locking sound, confirming the connection is established. Avoid forcing the connection; if resistance is felt, re-check the alignment. Once connected, cautiously restore power to the system.
Observe the operator during initial activation, verifying smooth and correct movement. If any unusual noises or movements occur, immediately disconnect power and revisit the alignment and connection steps. Safety is paramount throughout this process.

Post-Operation Check & Safety Review
After manual operation, thoroughly test the gate’s full range of motion and all safety features. Confirm sensors and obstruction detection are functioning correctly for secure use.
Testing the Gate’s Functionality
Following re-engagement of the automatic operator, a comprehensive functionality test is paramount. Cycle the gate through several complete open and close sequences, observing for any unusual noises, jerking motions, or obstructions. Pay close attention to the travel limits – ensuring the gate stops precisely at the fully open and fully closed positions.
Verify the responsiveness of the remote controls and any other access methods (keypad, intercom). Test the safety features repeatedly; deliberately introduce a small obstruction in the gate’s path to confirm the operator reverses direction immediately. This confirms the sensors are correctly detecting obstacles. A smooth, consistent operation, coupled with reliable safety responses, indicates a successful restoration of the system.
Verifying Safety Features are Active
Post-operation, rigorously confirm all safety mechanisms are fully operational. Test the photo-eye sensors by intentionally breaking the beam while the gate is closing – it should immediately reverse. Similarly, test any pressure sensors or edge switches installed along the gate’s perimeter. These should trigger a reversal upon encountering resistance.
Ensure the warning lights and audible alarms function correctly, clearly indicating gate movement. A properly functioning safety system is crucial to prevent injuries or damage. Regularly scheduled testing, alongside visual inspections, guarantees continued protection. Prioritizing safety ensures the automatic gate operates reliably and responsibly, safeguarding both people and property.