Mini Band Workout PDF: A Comprehensive Guide
This PDF details effective mini band exercises, encompassing warm-ups, lower & upper body routines, and full-body circuits for enhanced fitness and injury prevention․
What are Mini Bands?
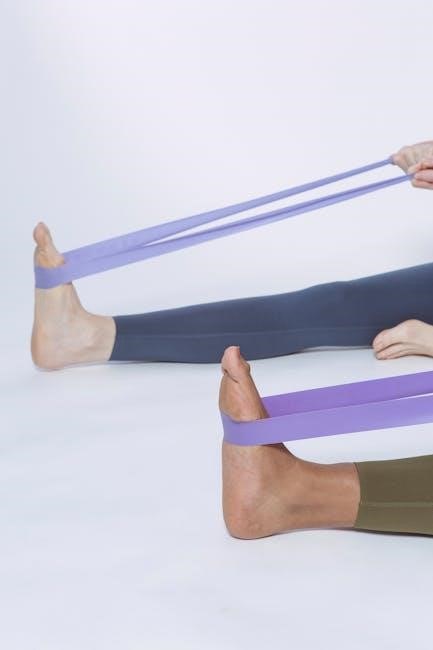
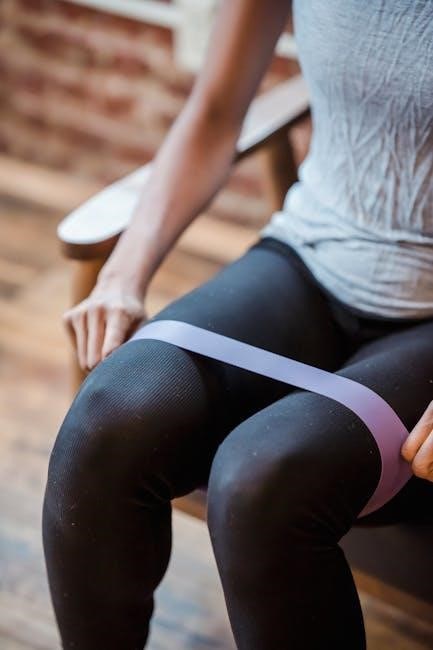
Mini bands, also known as resistance bands, are elastic loops used to add resistance to various exercises․ They are typically made of latex or fabric and come in different resistance levels, indicated by color․ These compact and portable fitness tools are incredibly versatile, making them ideal for home workouts, travel, or supplementing gym routines․
Unlike traditional weights, mini bands provide progressive resistance, meaning the resistance increases as the band stretches․ This challenges muscles throughout the entire range of motion, promoting strength, stability, and muscle activation․ They are particularly effective for targeting glutes, hips, and shoulders, often neglected muscle groups in conventional workouts․
Mini bands are a low-impact option, suitable for all fitness levels, from beginners to advanced athletes․ They can be incorporated into warm-ups, rehabilitation exercises, or intense strength training circuits․ Their affordability and convenience make them an accessible tool for anyone looking to enhance their fitness journey․
Benefits of Mini Band Workouts
Mini band workouts offer a multitude of benefits, extending beyond simple strength gains․ They significantly enhance muscle activation, particularly in the glutes and shoulders, leading to improved movement patterns and posture․ Consistent use can decrease the risk of injury during daily activities and ease pain associated with chronic conditions․
The resistance provided by mini bands promotes functional strength, meaning strength that translates to real-life movements․ This is crucial for maintaining independence and performing everyday tasks with ease․ They also improve stability and balance, reducing the likelihood of falls and injuries․
Furthermore, mini band exercises are excellent for rehabilitation, helping to restore strength and range of motion after injury․ Their low-impact nature makes them suitable for individuals of all fitness levels, and their portability allows for convenient workouts anywhere, anytime․ They are a versatile tool for achieving a well-rounded fitness routine․
Choosing the Right Mini Band Resistance
Selecting the appropriate mini band resistance is crucial for maximizing workout effectiveness and preventing injury․ Bands typically come in varying levels – light, medium, heavy, and extra heavy – each offering a different degree of tension․
Beginners should start with lighter resistance to focus on proper form and muscle activation․ As strength improves, gradually progress to higher resistance levels․ A good starting point is to choose a band that allows you to perform 12-15 repetitions with good form․
Consider your fitness level and the specific exercises you’ll be performing․ Lower body exercises like squats and lateral walks often benefit from heavier resistance, while upper body exercises may require lighter bands․ It’s beneficial to have a set of bands with different resistances to accommodate various exercises and progression levels․
Listen to your body and adjust the resistance accordingly․ If you experience pain, reduce the resistance or modify the exercise․
Warm-Up Exercises with Mini Bands
Prior to intense workouts, dynamic stretching and activation exercises using mini bands prepare muscles, enhance mobility, and improve performance, reducing injury risk effectively․
Dynamic Stretching with Resistance
Dynamic stretching, when combined with mini band resistance, elevates warm-up routines by actively moving joints through a full range of motion․ This approach differs from static stretching, which involves holding a position, and is more effective at preparing the body for exercise․
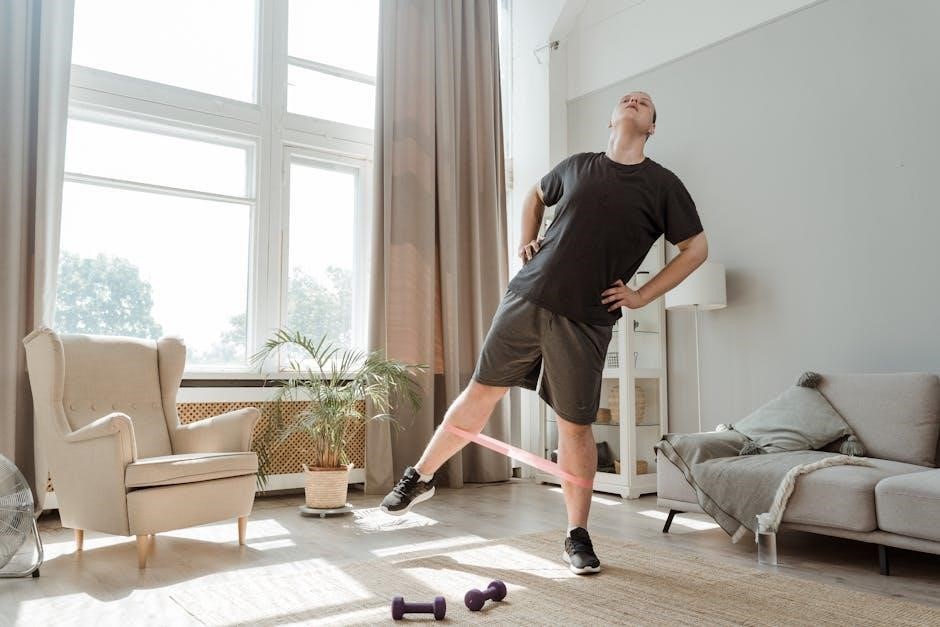
Incorporating a mini band adds a layer of challenge, engaging stabilizing muscles and increasing blood flow to the targeted areas․ Consider performing lateral band walks to activate glutes and hip abductors, or banded leg swings to improve hamstring and hip flexor flexibility․
Another beneficial exercise is the banded torso twist, which enhances core stability and spinal mobility․ Remember to perform these stretches with controlled movements, focusing on proper form rather than speed․ Aim for 10-15 repetitions of each dynamic stretch before transitioning to more strenuous exercises․ This prepares your muscles and joints, minimizing the risk of injury during your workout․
Activation Exercises for Glutes and Shoulders
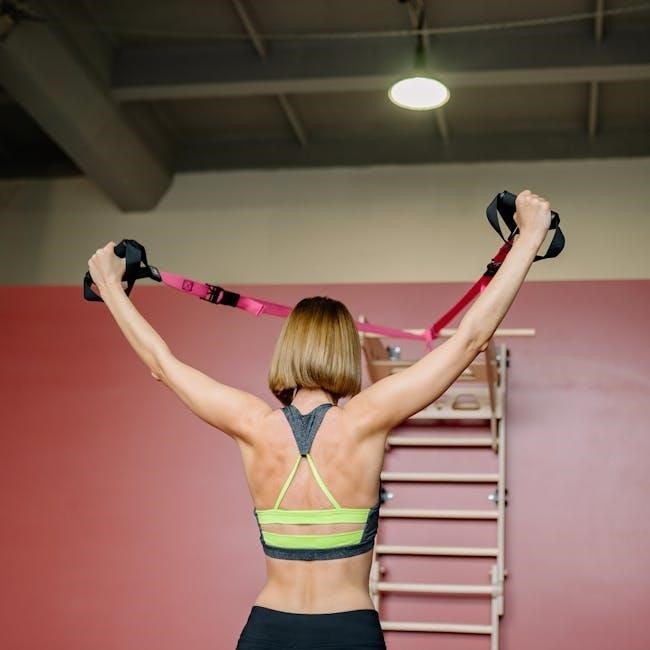
Prior to intense workouts, activating key muscle groups like the glutes and shoulders with mini bands is crucial for optimal performance and injury prevention․ Glute activation ensures these muscles are engaged during lower body exercises, improving form and power․ Shoulder activation stabilizes the scapula, enhancing upper body movements․
For glutes, perform banded lateral walks, focusing on maintaining tension on the band throughout the movement․ Clamshells are another excellent option, isolating the gluteus medius․ For shoulders, try external rotations with the band, keeping elbows tucked in and focusing on controlled movements․
These activation exercises should be performed with light to moderate resistance, focusing on quality over quantity․ Aim for 15-20 repetitions of each exercise, concentrating on feeling the targeted muscles working․ Proper activation prepares your body for heavier loads and more complex movements, maximizing workout effectiveness and minimizing strain․
Lower Body Mini Band Exercises
Strengthen and tone your lower body with targeted exercises! Explore squats, glute bridges, lateral walks, kickbacks, and single leg deadlifts, all enhanced by mini band resistance․
Squats with Mini Band
Squats with a mini band are a fantastic way to activate your glutes and improve lower body strength․ To begin, place the mini band around your thighs, just above your knees․ Ensure the band feels snug but isn’t overly restrictive․ Stand with your feet shoulder-width apart, toes slightly outward․
Initiate the squat by hinging at your hips and bending your knees, as if you’re sitting back into a chair․ Keep your back straight, core engaged, and chest up throughout the movement․ Focus on pushing your knees outward against the resistance of the mini band – this is crucial for glute activation․
Descend until your thighs are parallel to the ground, or as low as comfortably possible while maintaining good form․ Pause briefly at the bottom, then drive through your heels to return to the starting position, continuing to press your knees outward․
Aim for 3 sets of 15-20 repetitions, focusing on controlled movements and maintaining tension on the band throughout the entire exercise․ This exercise is part of a resistance band glute exercise routine․
Glute Bridges with Mini Band
Glute Bridges with a mini band significantly enhance glute activation and hip extension strength․ Begin by lying on your back with your knees bent and feet flat on the floor, hip-width apart․ Place the mini band around your thighs, just above your knees, ensuring a comfortable yet challenging resistance․
Engage your core and squeeze your glutes as you lift your hips off the floor, creating a straight line from your shoulders to your knees․ Actively push your knees outward against the mini band throughout the entire movement – this is key to maximizing glute engagement․
At the top of the bridge, hold for a brief pause, focusing on squeezing your glutes․ Slowly lower your hips back down to the starting position, maintaining outward pressure on the band․
Perform 3 sets of 15-20 repetitions, concentrating on controlled movements and a strong glute contraction․ Consider adding a pulse at the top for increased intensity․ This is a key resistance band glute exercise․
Lateral Walks with Mini Band
Lateral Walks with a mini band are a fantastic exercise for strengthening your gluteus medius, crucial for hip stability and preventing knee pain․ Begin by placing the mini band around your ankles, or just above your knees for increased difficulty․ Stand with your feet hip-width apart, knees slightly bent in a quarter-squat position․
Maintain the squat position throughout the exercise and slowly step sideways, keeping tension on the band․ Focus on leading with one foot and then bringing the other foot to meet it, maintaining constant resistance․ Avoid letting your knees cave inward; keep them aligned with your toes․
Take 10-15 steps in one direction, then repeat in the opposite direction․ This constitutes one set․ Perform 3 sets, focusing on controlled movements and maintaining proper form․
For a greater challenge, increase the resistance of the band or deepen your squat․ This exercise is a staple in resistance band glute routines, building strength and stability․
Kneeling Kickbacks with Mini Band
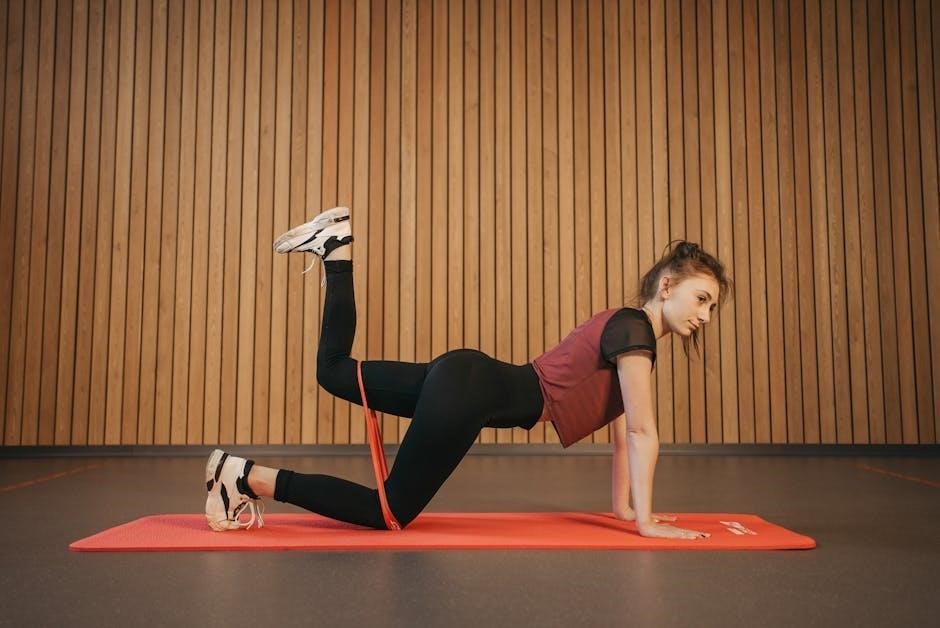
Kneeling Kickbacks with a mini band are excellent for isolating and strengthening the glutes․ Begin by securing the mini band around both ankles․ Kneel on a mat, ensuring your knees are hip-width apart and your core is engaged to maintain a neutral spine․
Keeping your back straight and core tight, slowly extend one leg straight back, squeezing your glute at the top of the movement․ Resist the pull of the band throughout the entire range of motion․ Avoid arching your back or letting your hips rotate․
Focus on controlled movements, emphasizing the glute contraction․ Return your leg to the starting position and repeat on the other side․ Aim for 12-15 repetitions per leg for one set․ Perform 3 sets, focusing on quality over quantity․
This exercise is a key component of resistance band glute workouts, promoting hip extension and gluteal activation․ It’s a low-impact exercise suitable for various fitness levels․
Single Leg Deadlifts with Mini Band
Single Leg Deadlifts with a mini band dramatically enhance glute and hamstring strength, while also improving balance and stability․ Place the mini band around your ankles․ Stand with feet hip-width apart, maintaining a slight bend in your knees and a straight back․
Hinge at your hips, extending one leg straight back as you lower your torso towards the ground; Keep your back flat and core engaged throughout the movement․ The band provides resistance, challenging your gluteus medius for stabilization․
Focus on maintaining a neutral spine and controlled descent․ Return to the starting position by squeezing your glutes and driving through your heel․ Perform 12-15 repetitions per leg for one set, completing 3 sets․
This exercise is a fantastic addition to any resistance band routine, building functional strength and improving overall lower body mechanics․ Prioritize proper form to prevent injury․
Upper Body Mini Band Exercises
Mini bands aren’t just for legs! Utilize them for shoulder presses, bicep curls, and tricep extensions, adding resistance to sculpt and strengthen your upper body effectively․
Standing Shoulder Press-Out with Mini Band
This exercise effectively targets the deltoids and upper back muscles, enhancing shoulder strength and stability․ Begin by standing with your feet shoulder-width apart, placing the mini band comfortably around your wrists, just above them․ Ensure a slight tension in the band from the start․
Position your forearms at a 90-degree angle, keeping your elbows close to your body․ Engage your core muscles and pull your shoulders down and back, maintaining good posture throughout the movement․ Slowly extend your arms outwards, pressing against the resistance of the mini band, until your arms are fully extended but not locked․
Focus on controlled movements, resisting the band’s pull as you return your arms to the starting position․ Maintain a consistent tempo and avoid jerking motions․ Remember to breathe deeply throughout the exercise․ Aim for 3 sets of 15-20 repetitions to maximize results․ This exercise is a fantastic addition to any upper body routine, promoting functional strength and improved shoulder mobility․
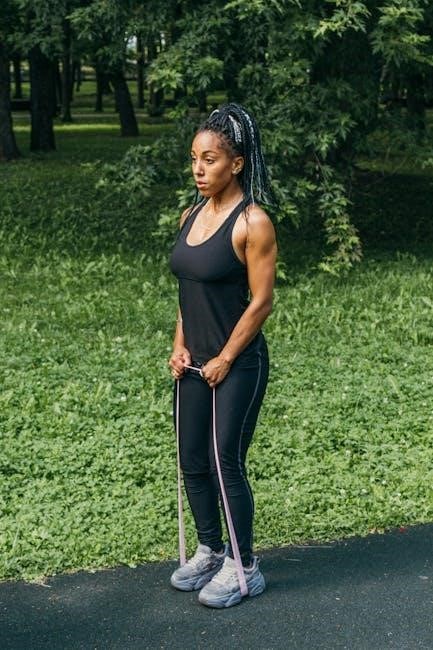
Bicep Curls with Mini Band
Mini band bicep curls provide a unique and effective way to isolate and strengthen your biceps muscles․ To begin, stand with your feet shoulder-width apart, securely placing the mini band under both feet․ Hold the ends of the band with your palms facing upwards, ensuring a comfortable tension․
Keep your elbows close to your sides throughout the entire movement․ Slowly curl the band upwards towards your shoulders, focusing on contracting your biceps․ Maintain a controlled tempo, resisting the band’s pull as you curl․ Avoid swinging your body or using momentum to lift the weight․
At the peak of the contraction, squeeze your biceps firmly․ Then, slowly lower the band back to the starting position, maintaining tension throughout the eccentric phase․ Perform 3 sets of 12-15 repetitions for optimal results․ This exercise is ideal for building bicep strength and definition, and can be easily incorporated into any workout routine․
Tricep Extensions with Mini Band
Mini band tricep extensions are a fantastic way to target the back of your arms, building strength and definition․ Secure the mini band under your feet, shoulder-width apart․ Hold one end of the band in your hand, and extend your arm overhead, keeping your elbow close to your ear․
Maintain a stable core and avoid arching your back․ Slowly extend your forearm upwards, contracting your triceps․ Focus on squeezing the muscle at the top of the movement․ Control the band’s resistance throughout the entire range of motion, preventing any jerky movements․
Slowly lower your forearm back to the starting position, resisting the band’s pull․ Repeat for 3 sets of 12-15 repetitions per arm․ This exercise effectively isolates the triceps, contributing to toned and sculpted arms․ Remember to maintain proper form to maximize results and prevent injury․
Full Body Mini Band Workout Circuits
Circuit training with mini bands combines upper and lower body exercises for a comprehensive workout․ Repeat circuits one to three times, performing 8-15 repetitions each․
Combining Upper and Lower Body Exercises
Full-body circuits utilizing mini bands are incredibly efficient, maximizing calorie burn and muscle engagement by seamlessly integrating upper and lower body movements․ A sample circuit might begin with squats with a mini band around the thighs, immediately followed by standing shoulder press-outs using another band around the wrists․
This pairing challenges multiple muscle groups simultaneously, enhancing cardiovascular fitness and muscular endurance․ Following the shoulder press, incorporate lateral walks to target glute medius, then transition into bicep curls with band resistance․ Continue with glute bridges and tricep extensions, ensuring minimal rest between exercises․
The key is to maintain constant tension on the bands throughout each movement, focusing on controlled form․ Performing 8-12 repetitions of each exercise, and repeating the entire circuit 2-3 times, provides a challenging and effective workout․ Remember to prioritize proper technique over speed to prevent injuries and optimize results․
Workout Frequency and Progression
For optimal results, aim to incorporate mini band workouts 3-5 times per week, allowing for adequate muscle recovery between sessions․ Beginners should start with 1-2 circuits, focusing on mastering proper form before increasing volume․ As strength improves, gradually increase the number of circuits to 3, and then consider adding resistance by using heavier bands․
Progressive overload is crucial for continued gains․ This can be achieved by increasing repetitions (from 8-12 to 12-15), sets, or band resistance․ Periodically introduce new exercises to challenge your muscles in different ways and prevent plateaus․ Listen to your body and adjust the intensity based on your individual needs and recovery rate․
Don’t underestimate the importance of consistency․ Regular mini band training, combined with a balanced diet and sufficient rest, will lead to noticeable improvements in strength, stability, and overall fitness․ Remember to perform a proper warm-up before each workout and a cool-down afterward․
Cool-Down and Stretching
Following your mini band workout, dedicate 5-10 minutes to a proper cool-down and stretching routine․ This helps gradually lower your heart rate, reduce muscle soreness, and improve flexibility․ Begin with light cardio, such as walking in place, to facilitate blood flow․
Focus on static stretches, holding each stretch for 20-30 seconds․ Prioritize stretching the muscles worked during the workout, including glutes, quads, hamstrings, and shoulders․ Examples include hamstring stretches, quad stretches, glute bridges without the band, and shoulder cross-body stretches․
Stretching is a safe and useful activity for healthy adults, improving posture and coordination․ Consistently moving muscles through their full range of motion can decrease injury risk and ease chronic pain․ Remember to breathe deeply throughout each stretch, and avoid bouncing or forcing the movement․